How to Easily Add a Sidebar to Any Squarespace Site

When we launched our first WordPress theme way back in early 2015, it didn't come with a sidebar. Feeling somewhat smug with ourselves, we declared, 'sidebars are dead, who needs 'em!?'.
Well as soon as people started buying the theme we immediately learned that this was far from the truth (the exact opposite really) and quickly shipped an update with a sidebar.
Since then sidebars became a must have for our themes... that is until we started making Squarespace templates. While we LOVE Squarespace, probably one of its biggest drawbacks is the fact that sidebars are haphazardly included in some templates, but not others.
Sadly, this includes our favorite template family on Squarespace, Brine. Nearly half of Squarespace's templates are in this family (see the full list here), so a sidebar workaround is a serious must.
Today I'm going to walk you through exactly how to create and add a faux sidebar to your blog posts and blog page. You might just be surprised at how easy it is!
Build Out Your Sidebar
To get started you'll need to decide what you want to include in your sidebar and create your imagery for each piece. Some elements of an effective sidebar are:
Your photo and short bio
Blog categories
Lead magnet opt in
Popular posts
Featured products
Instagram feed
Social links
Search bar
Here are the different components of the sidebar I'm going to show you how to build. When making your images, you'll need to save them as separate images, including a separate image for each of the categories.
Headshot

Accent

Categories
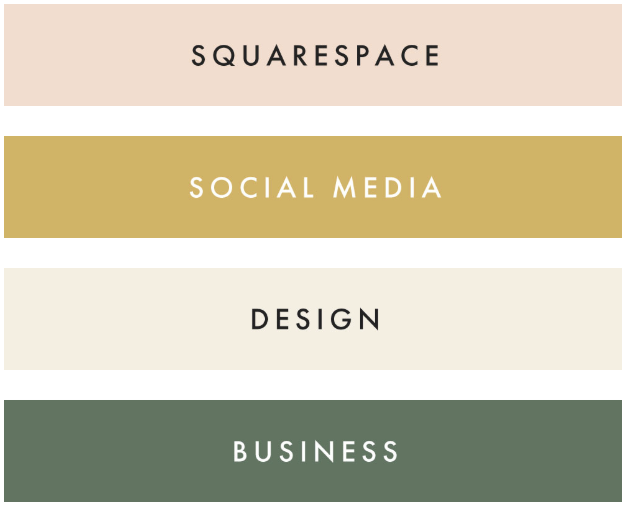
Lead Magnet


When adding the sidebar to posts and pages, we're going to use the summary block feature. Summary blocks pull the content from a blog or shop, so we're going to create a separate 'blog' to house our sidebar images and content.
This way you can update your sidebar on the fly and it will update wherever it is placed (this means you'll never have to update it on your blog posts one by one!).
Go to Pages and scroll down to Not Linked. Click the + and add a blog. Name it Sidebar so you don't confuse it with your actual blog.


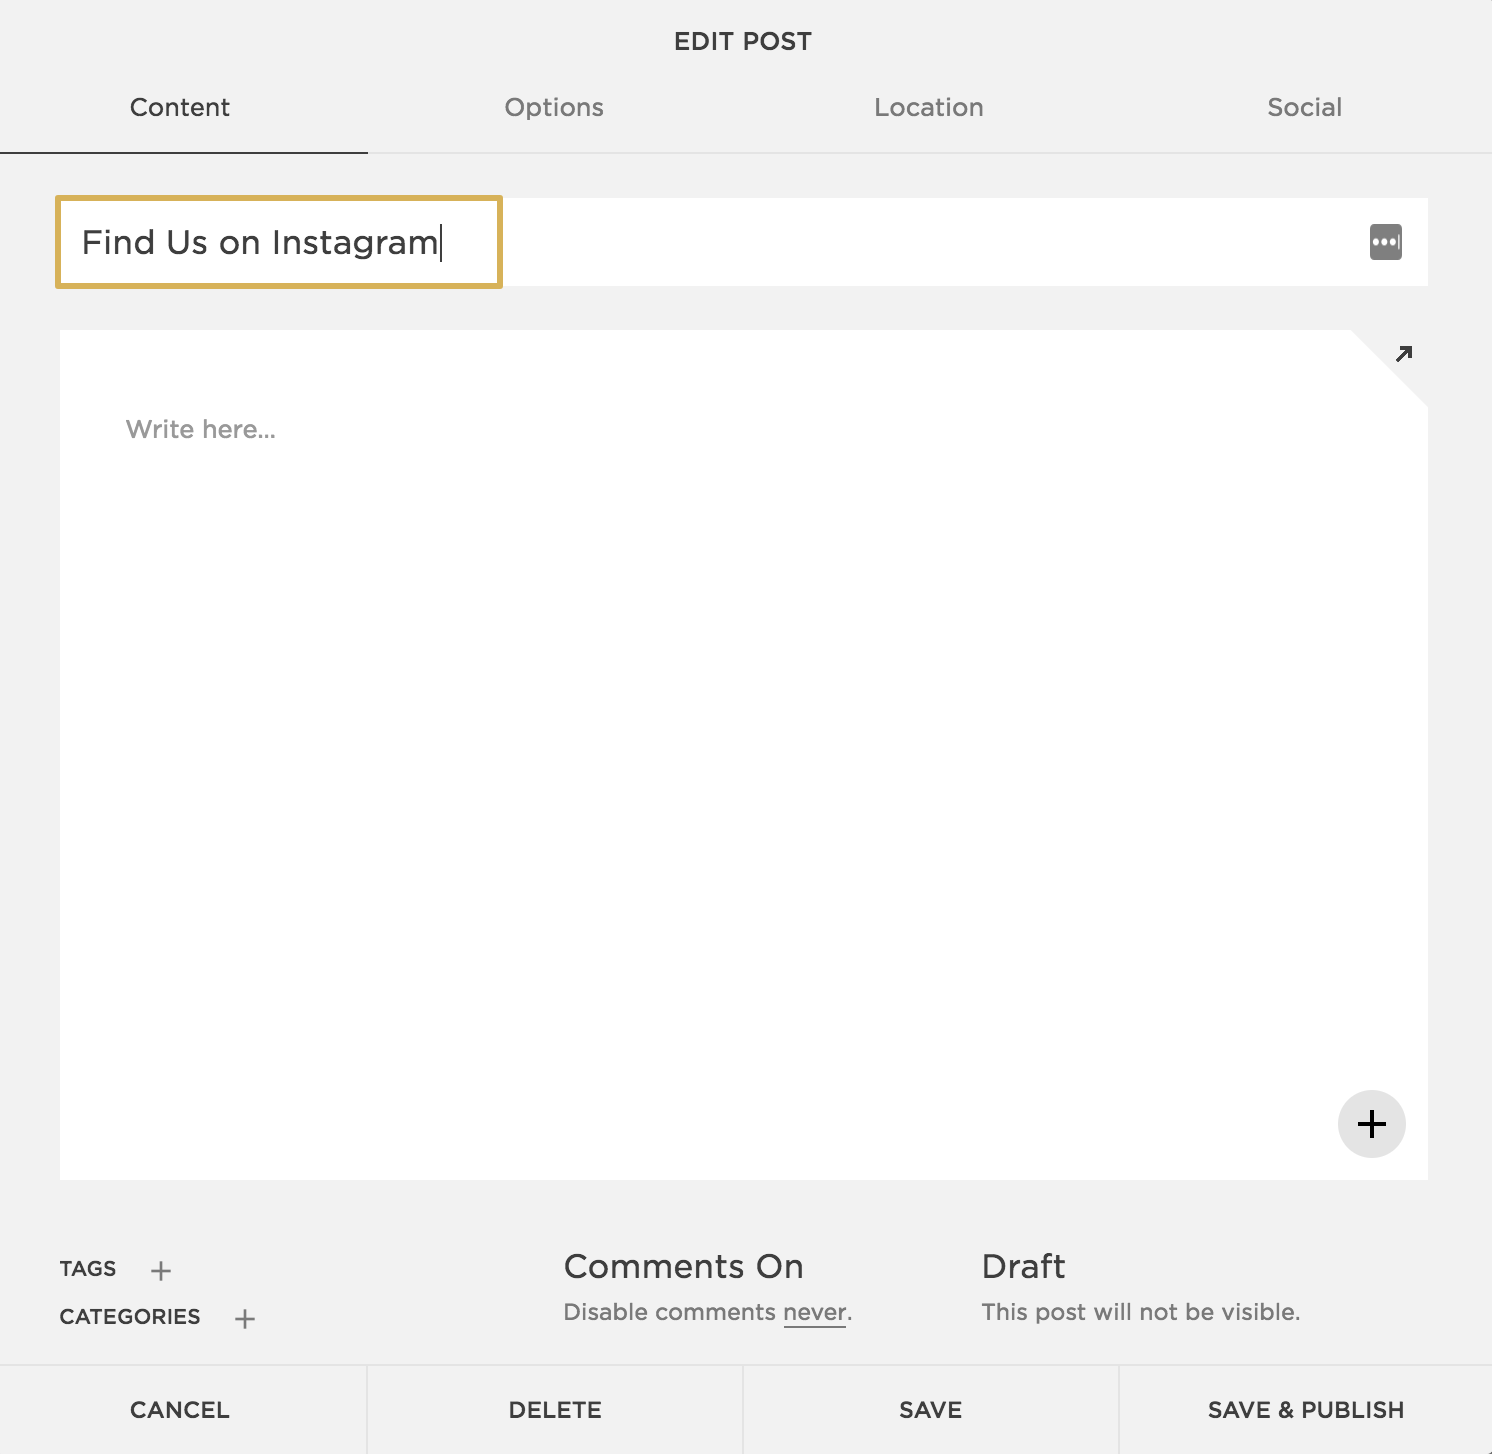
Click into your Sidebar 'blog' and click the + to add a new post. Since the content will display in chronological order, you'll want to add your last sidebar image first so that it shows up at the bottom. We're first going to add our Instagram image and text. Under Content, type in the text you would like to show up below your image as the Title.
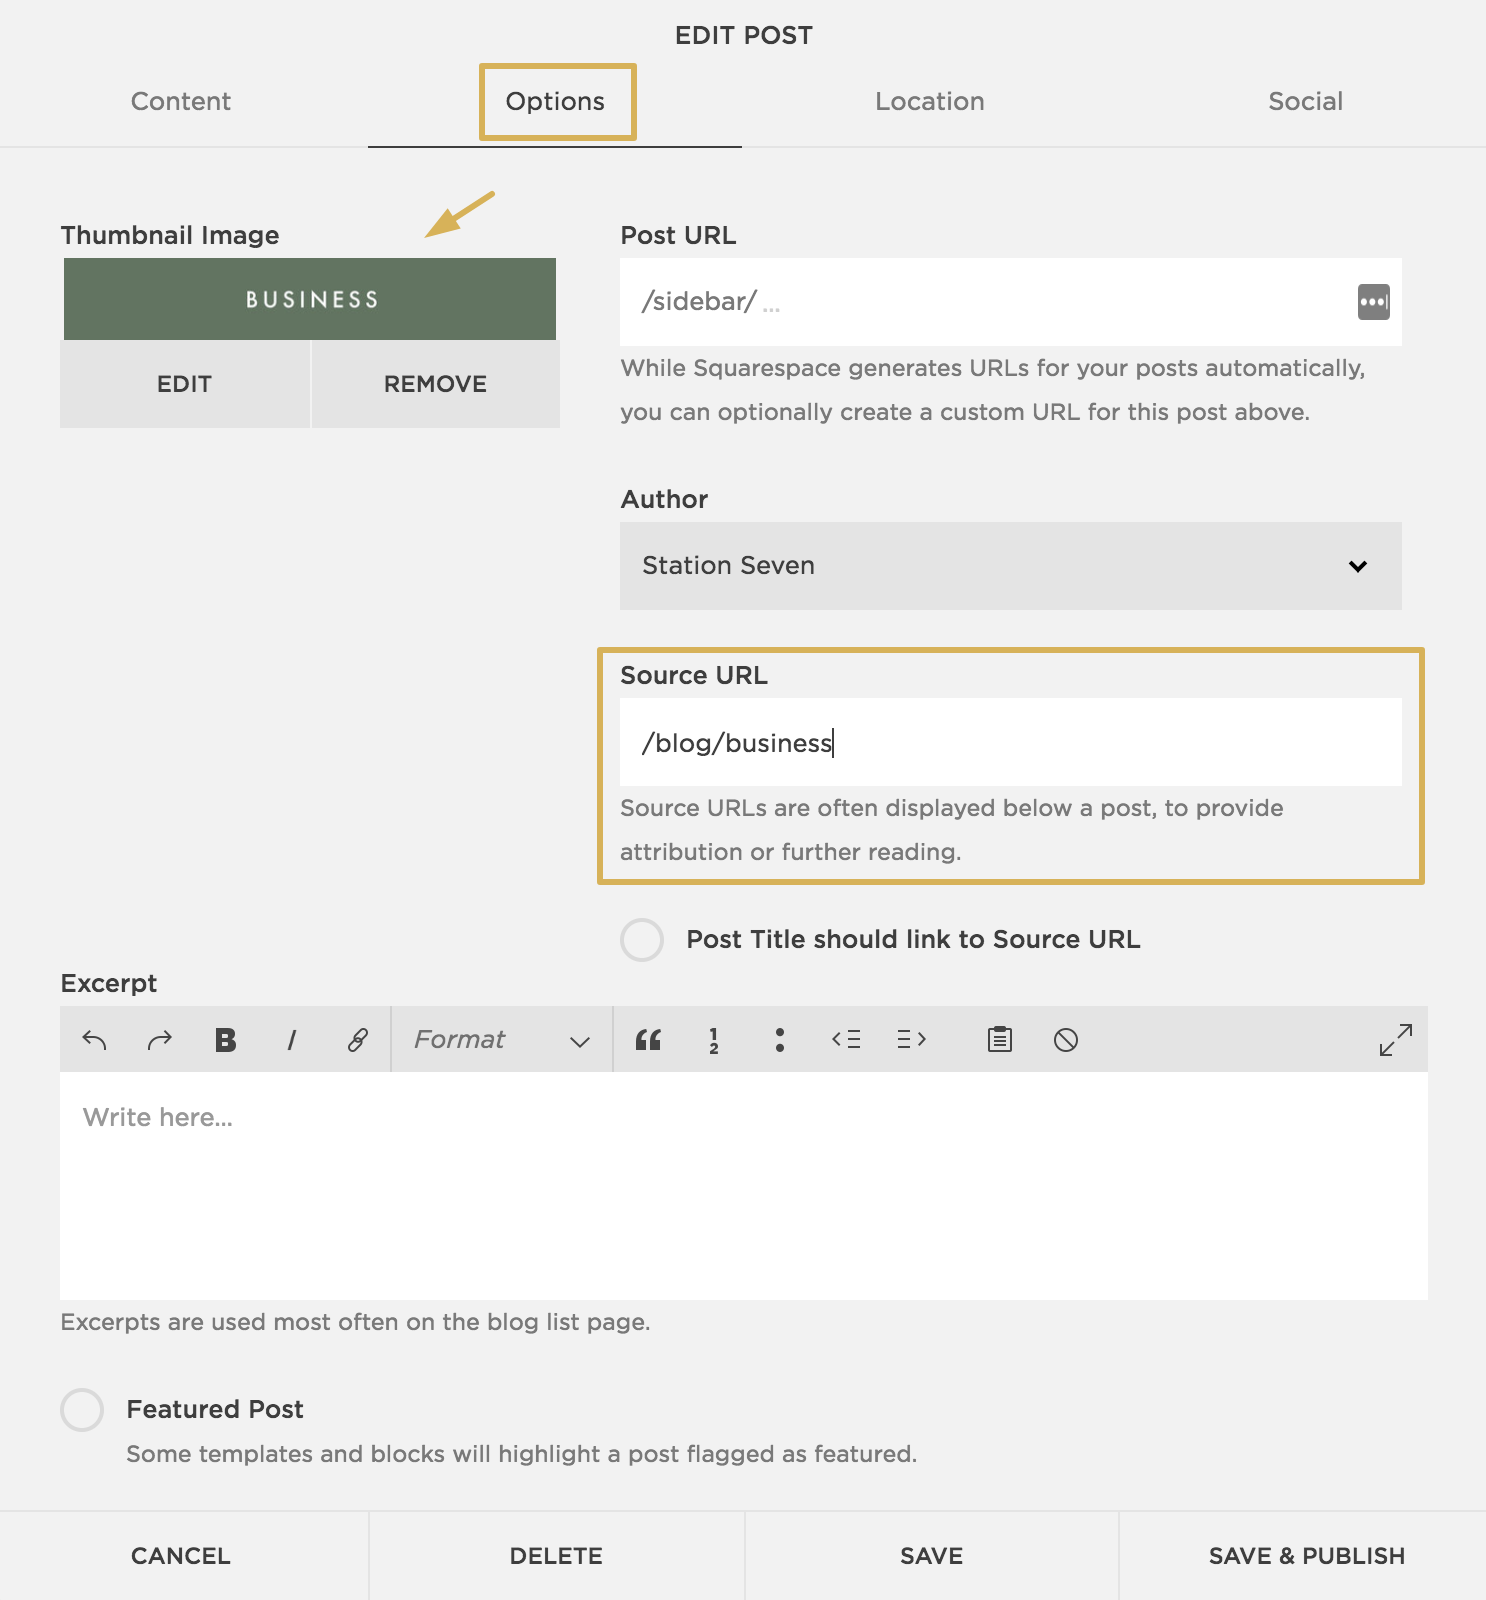
Then click Options, upload your image as the Thumbnail Image, add the link to your Instagram profile under Source URL, and select Post Title should link to Source URL (so that the title you entered links as well). Click Save & Publish.

Continue to do this for your next images, working your way up from the bottom to top. Next we added our lead magnet image and linked it to the sign up page we created for it. We did not add a title to this one as we didn't want any text below.
Then we added our category images and links one by one. We did not add titles for these either because we want to display the image only.
Next we added our accent image in the same way. This is to act as a divider and as a bit of a visual flourish. Finally we're going to add our headshot, plus some text as the Title and an Excerpt. We'll link this one to our about page so our visitors can read more about us.
Again, make sure to select “Post Title should link to Source URL” to ensure your buttons link to the right page.

Click Save & Publish and you should now see all of your sidebar components lined up correctly. You'll see only my headshot and our Instagram image have titles, as I want this to appear as text below the image. The rest will only be linked images (except the accent image, I didn't link it to anything).
If you accidently added any out of order, you can simply save them all to draft, and then publish them again in the correct order. Or you can manually change the dates; the one with the publish date furthest in the past will show up at the bottom of your sidebar.

Add Sidebar to Blog Posts
Here is where the magic happens! We're going to add this sidebar to one of your blog posts as a Summary Block and see it instantly populate this new content. At the top of your blog post click the hover and click on the droplet and select Wall under Summary.

Under Content, select Sidebar under Blog. Reduce the Gutter Width (we set it as 0) so that your images are spaced closely together.
Tip: If you want your category images nice and tight, however you want your Instagram image and lead magnet images further apart, you can add a bit of white space to the top of these using image editing software like Canva or Photoshop, then export as PNG. This is what we did so that we could set our gutter to 0.
Under Display make sure Show Title, Show Thumbmail, and Show Excerpt and selected, and select None under Primary Metadata. Click Apply.


Now you just need to click and drag it over to the right hand side of your blog post. Hover over the dividing line between your content and sidebar and move it to the right so that it becomes narrower. When you're happy with its sizing, click Save and just like that, you have a sidebar!


You might notice that our excerpt font looks a little different than yours. By default Squarespace makes this font teeny tiny, without giving us any Style Editor settings to control this. So bring on the CSS! We've included a code snippet below if you'd like to customize your excerpt font as well. Make any adjustments you need so that it looks exactly like you envisioned.
/*Customize Sidebar Summary Excerpt Text*/
.summary-excerpt p {
  font-size: 18px;
  line-height: 1.5em;
  margin: 0 0 10px 0;
  font-weight: 400;
  text-align: center;
}
Create a Sidebar Blog Post Template
Want to make it super simply to use a sidebar on all of your blog posts? You can create a blog post template that allows you to automatically start each new post with your sidebar already set up!
To get the inside scoop on creating and using blog post templates in Squarespace, check out our post here.
Add Sidebar to Blog Page
We also love how this sidebar looks on a blog page as well. Sadly it's not possible to add a sidebar to the default blog using a template in the Brine family, but you can make a new custom archive-like page for your blog and add it there.
We love the look of this blog page using carousel summary blocks. It gives your readers the ability to quickly browse through your posts and easily find the most relevant ones, definitely an effective way to serve your audience!

Hopefully this tutorial opens your eyes to the possibilities of adding a sidebar into your Squarespace site, no matter which theme you're using! If you have any questions or tips you can share, let me know in the comments below!